Secrets to Ultra-Creamy No-Churn Chocolate Ice Cream: Expert Tips
Dreaming of a rich, velvety chocolate ice cream that melts in your mouth but dread the thought of an expensive ice cream maker or a lengthy, egg-tempering process? You're in luck! The secret to truly luscious, deeply satisfying
homemade chocolate ice cream lies in the no-churn method – a culinary revelation that makes gourmet dessert accessible to everyone. Forget fussy preparations; with just a few key ingredients and some expert techniques, you can whip up a batch of ultra-creamy, profoundly chocolatey goodness that will rival any premium store-bought pint. This guide will reveal the essential tips and tricks to transform simple ingredients into an extraordinary frozen delight.
The Magic of No-Churn: Simplicity Meets Indulgence
For generations, the idea of homemade ice cream often conjured images of rock salt, hand-cranked machines, or complicated custard bases involving egg yolks and precise cooking temperatures. While these traditional methods yield delicious results, they can be daunting for the casual home cook. This is precisely where the no-churn technique shines, offering a remarkably straightforward path to creamy indulgence.
At its heart, no-churn chocolate ice cream typically relies on a simple trio of ingredients: heavy cream, sweetened condensed milk, and cocoa powder. The magic unfolds as aerated heavy cream provides the light, airy texture, while the sweetened condensed milk delivers sweetness, richness, and crucial anti-freezing properties that keep the ice cream scoopably soft. There’s no cooking involved, no lengthy cooling times for a custard, and absolutely no need for specialized machinery. This simplicity means you can go from craving to creamy bliss in a fraction of the time, making it perfect for spontaneous dessert urges or a quick treat to impress guests. It democratizes the art of ice cream making, proving that exceptional flavor and texture don't require professional kitchen skills or a significant investment in equipment.
Unlocking Deep Flavor: The Cocoa Powder Conundrum
While the basic no-churn formula is a winner, achieving that deep, dark, and utterly satisfying chocolate flavor hinges significantly on one crucial ingredient: your choice of cocoa powder. Not all cocoa powders are created equal, and understanding their differences is key to mastering your
chocolate ice cream.
You'll primarily encounter two main types of unsweetened cocoa powder in most grocery stores:
*
Natural Cocoa Powder: This is the most common variety, often recognized by its lighter color and a slightly acidic, almost fruity tang. Being unprocessed, it retains more of the cacao bean's original acidity. While excellent in baked goods that rely on baking soda for leavening (as its acidity reacts with the soda), in a no-churn ice cream base, natural cocoa can sometimes lend a sharp or even dry aftertaste, detracting from the desired smooth richness.
*
Dutch-Process Cocoa Powder (Alkalized Cocoa): This variety undergoes an additional treatment with an alkaline solution to neutralize its acidity. The result is a darker cocoa with a smoother, more mellow, and profound chocolate flavor. It emphasizes the rich, earthy notes of chocolate without any bitter edge, blending seamlessly into creamy bases. It's a favorite in European confectionery for good reason – it delivers a deep, consistent color and a complex, rounded flavor profile that is ideal for ice cream.
*
Black Cocoa Powder: An ultra-dutched version, black cocoa is intensely dark, almost jet black, and delivers a flavor reminiscent of classic Oreo cookies. On its own, its intensity can be overpowering. However, when artfully balanced with the sweetness of condensed milk and the creamy texture of whipped cream, it creates an incredibly dramatic, intensely dark chocolate experience that feels wonderfully luxurious and fudgy.
For the ultimate ultra-creamy, deeply flavored no-churn chocolate ice cream,
Dutch-process or black cocoa powder are your undisputed champions. Their superior solubility and rich, non-acidic profiles ensure your ice cream boasts that luscious, fudge-like consistency and an intensely bold, smooth chocolate taste that will have you coming back for more.
Mastering the Art of Creaminess: Essential Technique Tips
Beyond selecting the right cocoa, the secret to achieving that coveted ultra-creamy texture lies in a few simple yet critical techniques. These steps ensure your
chocolate ice cream is airy, smooth, and free from icy crystals.
1.
Chill Everything Down: The Colder, The Better
Starting with well-chilled heavy cream is non-negotiable. Cold cream whips up faster and achieves a more stable, voluminous structure, which is vital for the ice cream's airy texture. Go a step further and chill your mixing bowl and beaters in the freezer for 10-15 minutes before you begin. This helps maintain the cream's low temperature throughout the whipping process, ensuring maximum volume and stability.
2.
Sift Your Cocoa Powder: Banish Lumps for Smoothness
Cocoa powder has a notorious tendency to clump. These small lumps, if not dealt with, will resist dissolving fully in the condensed milk, resulting in pockets of dry, unmixed cocoa in your final ice cream. To prevent this, always sift your cocoa powder through a fine-mesh sieve directly into your condensed milk. This simple step ensures a perfectly smooth, homogenous chocolate base.
3.
Whip the Cream to Perfection: Stiff Peaks, Not Butter
Whip your cold heavy cream until it forms stiff peaks. This means when you lift the beaters, the cream stands up straight, holding its shape firmly. This introduces essential air into the mixture, contributing to the ice cream's light and airy consistency. However, be vigilant! Over-whipping can quickly take the cream past stiff peaks and turn it into grainy, separated butter. Stop once the peaks are firm and hold their shape.
4.
Fold Gently, But Thoroughly: Preserve the Air
Once your cream is whipped and your chocolate-condensed milk mixture is ready, it's time to combine them. This step requires a delicate touch. Gently fold the chocolate mixture into the whipped cream using a spatula, rather than beating it with a mixer. Mix on low speed if using an electric mixer, and for the shortest duration possible. The goal is to fully incorporate the ingredients without deflating all the precious air you've just whipped into the cream. Overmixing will lead to a denser, less airy, and potentially icier final product.
5.
Strategic Freezing: Shallow and Covered
The container you choose for freezing impacts both the texture and speed of freezing. A shallow metal loaf pan or baking dish is ideal because it allows the ice cream to freeze more quickly and evenly. A faster freeze helps prevent the formation of large ice crystals, which are the enemy of creamy texture. Once transferred to the pan, cover the surface of the ice cream directly with plastic wrap or parchment paper. Press it down so it touches the entire surface. This crucial step prevents freezer burn, keeps your ice cream fresh, and maintains its exquisite creaminess.
Beyond the Basics: Elevating Your No-Churn Chocolate Ice Cream
Once you've mastered the foundational techniques, the world of customization opens up! Here are some ideas to take your
chocolate ice cream to the next level:
*
Flavor Boosters: A teaspoon of pure vanilla extract can enhance chocolate flavor. A pinch of espresso powder (or instant coffee granules) dissolved in a tablespoon of hot water can intensify the chocolate without making the ice cream taste like coffee. A touch of sea salt can also deepen and balance the sweetness.
*
Textural Add-ins: Fold in chocolate chips, chopped nuts (pecans, walnuts, almonds), crushed cookies (like those famous black cocoa sandwich cookies), mini marshmallows, or swirls of caramel or fudge sauce just before freezing.
*
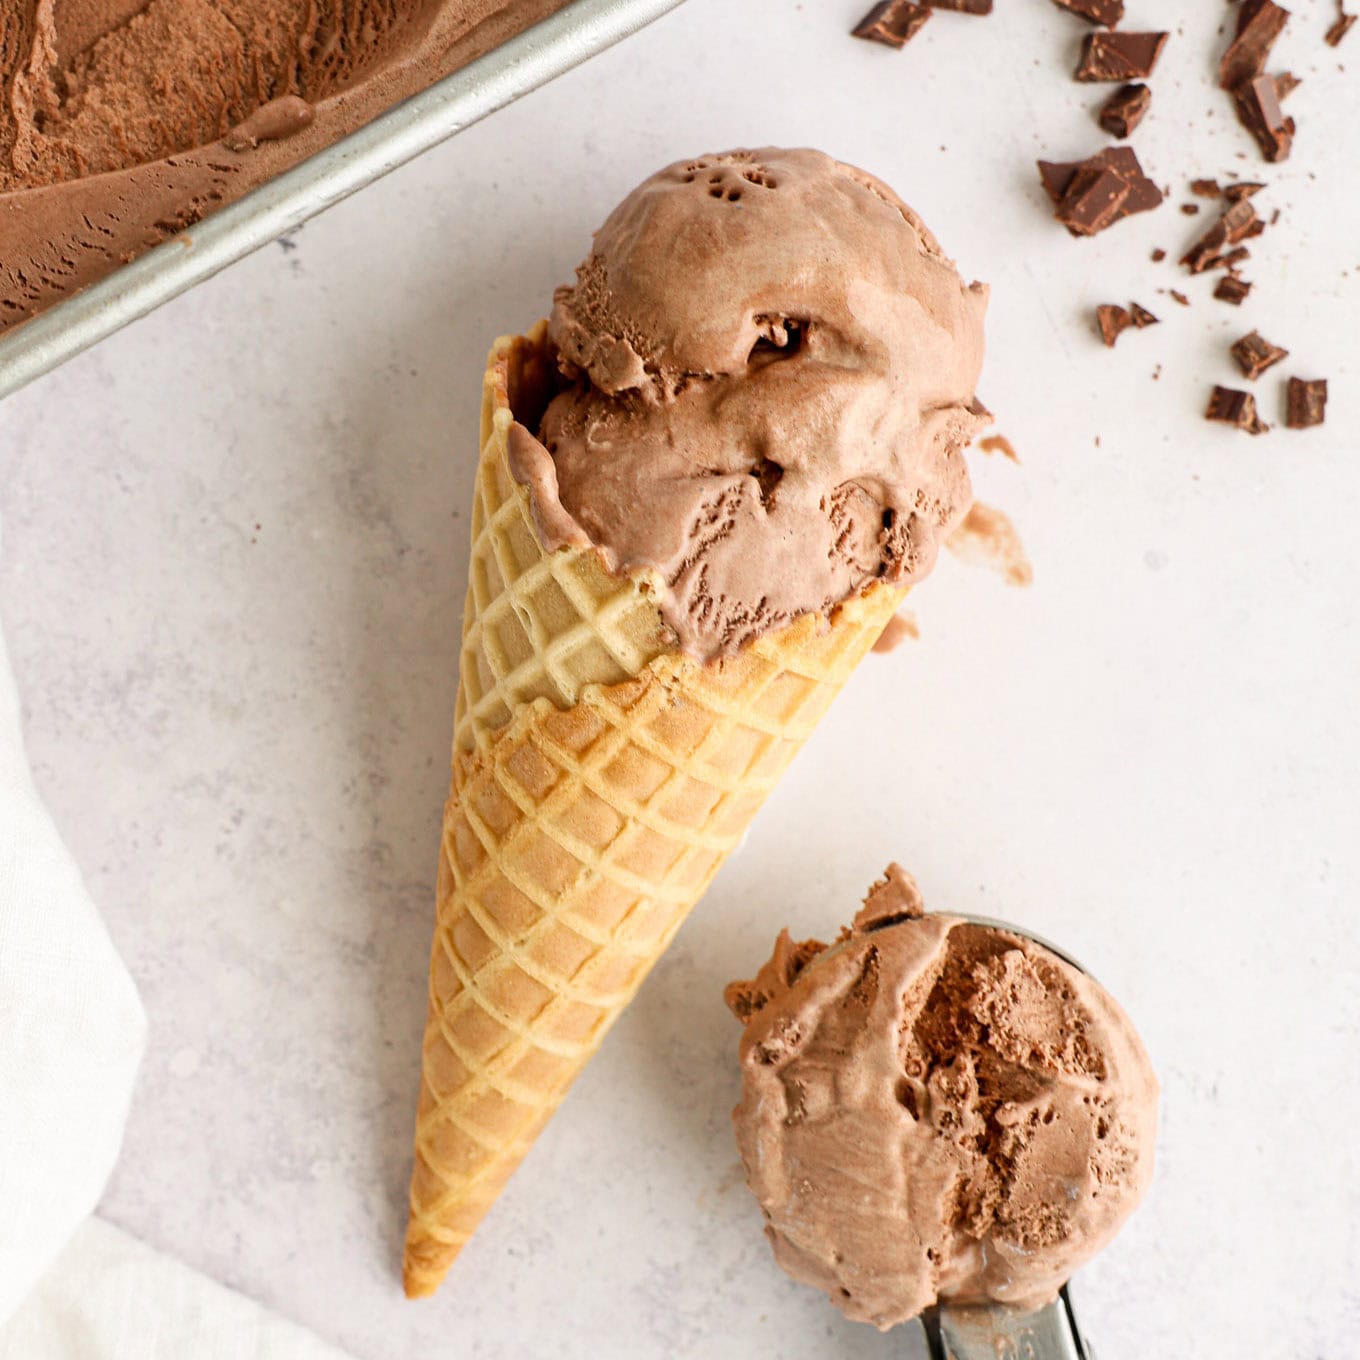
Serving Suggestions: Scoop your homemade masterpiece into waffle cones, bowls, or use it to create decadent sundaes with whipped cream, hot fudge, cherries, and sprinkles. It also makes a fantastic base for milkshakes.
*
Storage Savvy: While covering with plastic wrap is excellent for initial freezing, for longer storage (up to 2 weeks), transfer the ice cream to an airtight, freezer-safe container. This further protects it from absorbing freezer odors and maintains its quality.
Crafting ultra-creamy, deeply flavorful no-churn chocolate ice cream is a truly rewarding experience. By understanding the nuances of cocoa powder and applying these expert tips, you can effortlessly create a dessert that embodies pure indulgence. So gather your ingredients, follow these simple steps, and prepare to delight your taste buds with the richest, smoothest homemade chocolate ice cream you've ever tasted. It's proof that sometimes, the simplest methods yield the most extraordinary results.